Monthly Archives: August 2018

Code Cleaning

I have been reading the Clean Code book I got today, and it is exactly what I was looking for!  Keeping functions small, preferably do one thing only, have descriptive names, don’t pass too many variables to a function.  These are just a few of the insights helping me clean up my code.  It’s also a good point in development to do this I think, as there are a lot of areas I can improve, and what better way to learn then through lots of practice! 

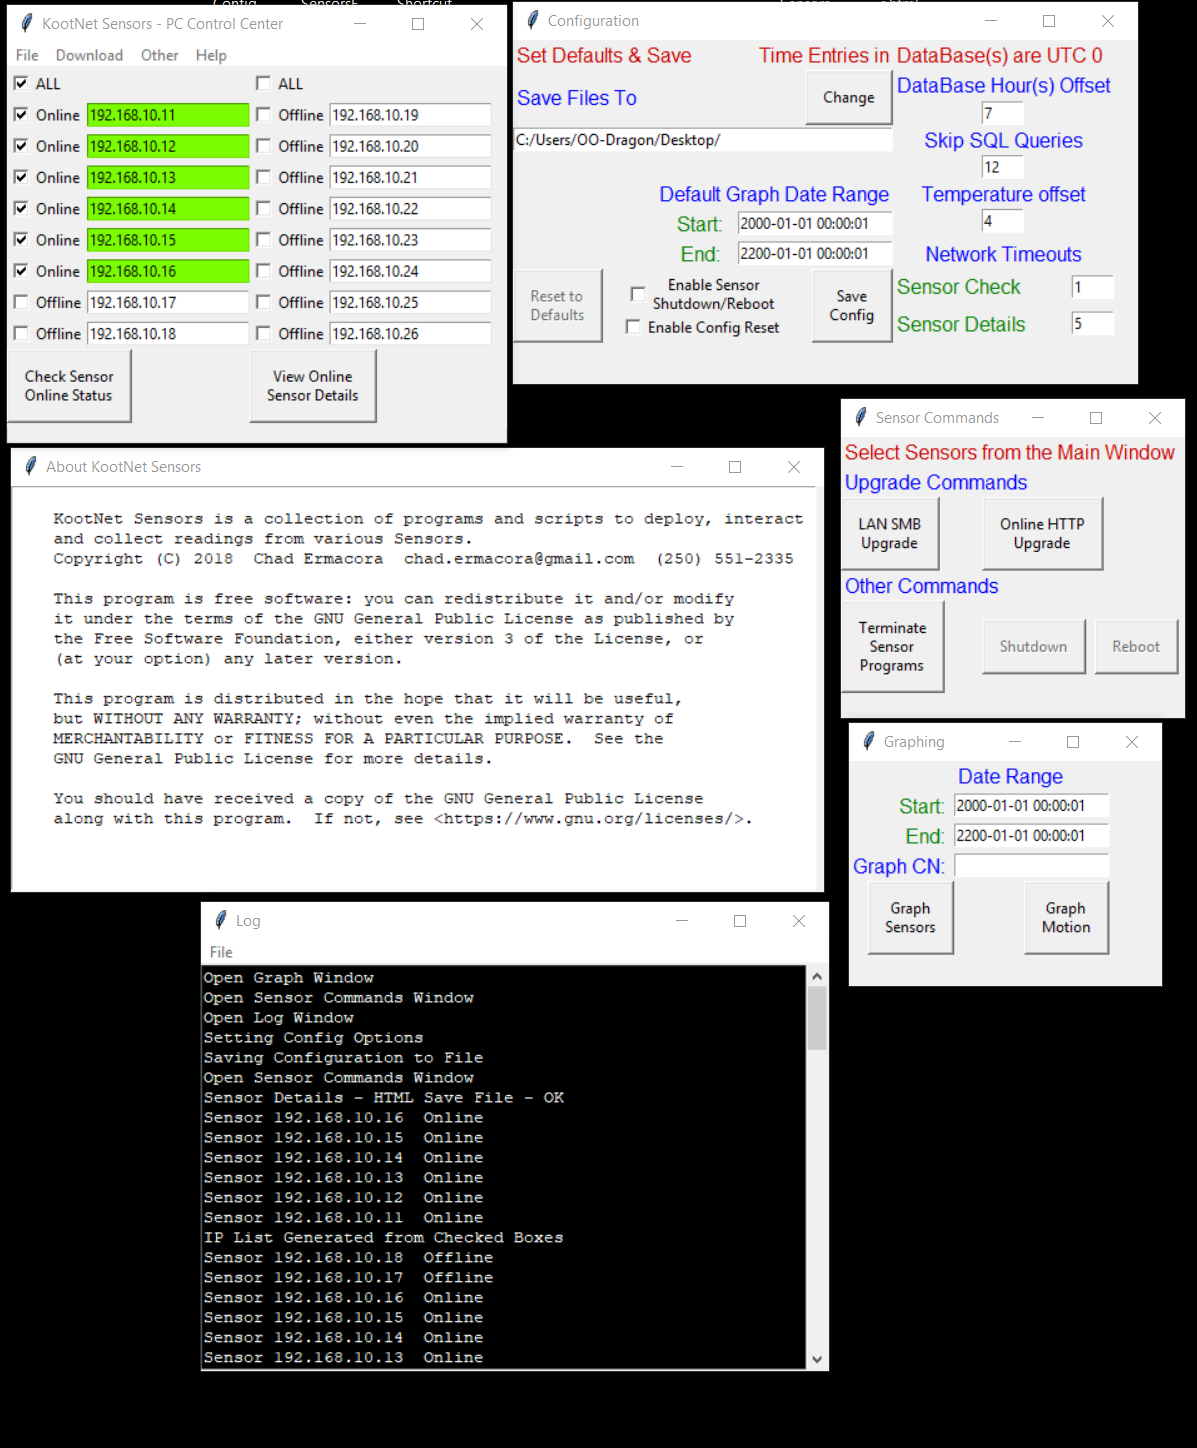
I took my one big Sensor Commands function and put it in it’s own .py file, then broke it up into many smaller functions.  MUCH nicer, but still needs work.  I’m pretty happy overall, since I do actually want to share my code and have it be useful to others.  Being easy to read and follow seem like important steps in that direction.  

Guess I’ll be spending lots of time working on the code, but making zero visual and functional changes ^_^  It actually sounds like it would be one of those really boring things, and I suppose it would be if that’s ALL I was doing.  However, just like organizing your office to perfection, there’s a real satisfaction from cleaning up programing code… of course I wouldn’t go as far as to say “To Perfection”, since I’m still very much learning!  But a desire to learn, and do better are very important steps on the path towards Perfection (Never obtained, always getting closer). 

Sensor Website & Information updates

I took a bit of time to update the websites.  This should better relay some information about the project.  You’ll notice a few more links in the menus.

I have also been testing the new PC application features a fair bit, and think they are ready to be released.  I’ll upload new installers and test Databases by next week. Old databases won’t work with the new version, due to new columns added to take magnetic readings (Graphing looks for those new columns).

Old databases can be updated fairly easy, by just having the updated sensor units record into the database (auto adds missing columns).  This will allow use in the new program.  I’m also working on my SQL Database modifier so this can be done locally, but that’s still a ways off.  

I used PyCodeStyle on my primary application, and its in good shape now according to that (LOTS of minor changes made).  Although I still have to look into making my ‘try: except:’ statements more accurate, as the except catches all right now.  I’ll have to find a walkthrough or video explaining how to use the except properly and specifically.  

I also started to read the new book I got for “Clean Code”, which most of it so far makes sense, as it’s a lot of attention to detail, continual re-evaluations and putting the time in learning and practicing better ways.  Sounds like what I’m doing already, so that’s good to hear in the first chapter. I’m looking forward to getting into the details in later chapters!  

Until next update! 

Making Better Code

As my Project gets bigger (well over 1000 lines of code for the PC prog alone), its becoming more and more obvious that I need to set aside time to learn how to write better code to make it easier to read.  Adding better built in error checking and well documented functions would help too. 

I’m also fairly concerned about the feedback I’ll get when posting my code for the first time, as I know from experience, a lot of people online are better at pointing out faults then actually helping you (Part of the reason I have not posted my code directly yet)

After a fair amount of google searching, using different searches to find relevant information, I came across a good link for python that had more links and book references to help.  So I think I’m in a good place to start learning about cleaning up my code.  

The first and more direct helper is “pycodestyle” (was pep8), which is a python module that can be installed with pip.  This will be HUGE in the initially clean up stage.  I also got a book called “Clean Code: A Handbook of Agile Software Craftsmanship (Robert C. Martin Series)”.  The reviews were all good, except for the physical quality of the book (formatting off for print size and pages falling out?).  So I got a kindle version and will start to read through that.  

I’m also happy to say that the smoke has cleared up a LOT!  So I have been going for my morning walks again, and feeling much better.  

There have been some decent additions to the PC control Center program, both in function and organization of data.  So I may post a updated version soon, or at least update the pictures.  

In other news, I have opened up a GitHub account, and it looks fairly straightforward in how it works and what it offers (At least to get started).  So once I actually clean up my code, it’s going there for public review and access!  

Guess that’s it for this post.  Lots to do and learn, but enjoying the process.  I especially like looking back at older versions of my program and seeing how much progress has been made.  

Upgrading the Command & Update System

I’m thinking of how I might enhance the commands and update system.  

It would be nice if one could queue up commands to run, and have the sensor run them whenever they get online to check.  

To this end, I had a few ideas.  The sensors could check a folder through a http URL every x min, and if it finds a file there, with its host name as the filename, it would check the date stamp inside.  If the date stamp is newer than its local “Last Ran” date stamp, it would run the commands inside and then put the current time as its local “Last Run” date stamp.  

This could be further enhanced by having the sensor itself connect back to a “Server” where the Control Center software is running to say it ran the commands or even remain connected for future communications.  The URL to connect to would be included in the http file the sensor initially looks at. 

This has a few advantages.  By changing the URL or IP in the http file, sensors would start connecting to you in minutes, also no ports need to be open to have the sensors run commands, and the sensors only need to be online long enough to run said commands. If you do want to control them in real time, ports only have to be setup / forwarded to the Control Center PC.  Once setup, just turn it on, load the KootNet Sensors – PC Control Center and wait for sensors to check in. Once they have, control them as normal through the program.  

This could really be useful in areas with spotty internet connections.  Or a way to que up a bunch of tasks for mostly offline sensors.  A few things that could be useful include, sending the database to a online storage location, changing how or what is being recorded or getting it to update.  Get them online for 10 min or however long the commands will take (Plus the x time it waits to checkin), and it’s done.  

This will DEFINITELY be an undertaking…. I might make this a whole separate program, just for reverse connection management… that way there are multiple ways to manage the units, depending on your needs, and multiple ways to try and connect, if something goes wrong.  I’ll see once I get started and figure out how its all going to fit together.  

Upgrades!

I have now updated the Sensor Install to be modular for the Sensor its being installed onto.  You only have to select the right sensor on install.  Everything else is taken care of.  I have also merged the Install & NAS Update script into one.  If it’s the first run, it does a install, asking for sensor type, installs python modules and updates the system in general.  If it’s not the first install, it updates the sensor programs and crontab (no user interaction required for updates).

I have also updated the file structure on the sensors, so it’s a bit easier to understand what does what.  3 folders have been added

1) auto_start = autostart scripts to make sure programs are running and start them if they are not running. 

2) sensor_modules = supported sensor modules to get sensor data (Imported into main program)

3) upgrade = Install and update scripts (NAS / Online / E-Ink). 

I think I updated all other pointers in programs and scripts to match the new locations, but I have yet to test them all.  

The folder /home/sensors/sensor_modules/ on the sensors themselves, has a .py programs for each different Sensor that is supported.  Adding new Sensors is fairly easy now, as you just add another .py file, that has a def, which returns the new sensor readings. Look at one of the other modules to use as an example, since absent sensor readings still need to be returned, simply set them manually as “N/A”.  

This took pretty much all day, but I’m glad it’s done, as it will make things SOO much easier in the future adding different sensors.  

I think I’ll work on fixes next, as there are a few things I need to tweak, like actually showing the hostname on the graphs and applying the timezone to motion plots.  

In other news, it’s still super smokey and is off the Canadian Air Quality scale (has been for weeks, with a few dips to 8 out of 10). I have also run my Air Quality sensor inside and out.  Inside it read about 150,000 Ohms @ 33% Humidity.  Outside it’s more like 300,000 Ohms @ 40% Humidity.  The air quality equation still eludes me (Have not made the time to go over it), but having double the resistance… seems bad, especially since inside is not exactly fresh healthy air either.  

Testing new Sensors + AQI

All right!  New sensors are in and I’m testing them out.  Got demo code for most of them working, although I should of read the fine print on a few of the Sensor boards, as they don’t have working code for Python yet… But that’s only the Thermal Cameras and maybe the motion one.. but I’m pretty sure I can get the motion one to work.  

I have been learning about the Air Quality Index (AQI) as well as how this sensor works in approximating it.  For starters, it seems like its more about getting relative changes after a “Burn in” test.  Which is OK to spot differences over time, but I would like to get a more … absolute value as well, so I know how bad it is already!  Guess I’ll just have to compare indoor vs. outdoor for smokey air issues…. not that inside is super smoke free… But it’s a start!  

I’m not recording any of this to a database yet, as I more wanted to play and learn about the sensors before recording.  So as I type this, I have the demo code showing me the approx Air quality inside.  It takes a 5 min burn in period before it starts to show the AQI in the form of a % out of 100.  Inside its been running for approx 5-10 min and its showing a 96%.  I’ll put it outside shortly and see how it drops (I have it running on a battery for moving around without shutting down).  

That’s it for this update.  New sensors will be supported soon AND I’ll be working on the Sensor installer (not the PC app), so there is less fuss getting different sensors working.  

Website & Downloads

First of all, I decided to update the webpage layout and locations. I have moved the Kootnet Sensor pages to kootnet.ca, and left this as a pure Blog. I have added a few sections, such as Pictures, Change Log and Sensor Data Usage on kootnet.ca.  

In other news, there is now a Downloads section!  I have put windows installers for the PC Control Center and MD5 checksums for verification.  I also added 2 Test Databases with sensor data, so people can actually try out the graph section.  

I have yet to “Post” my source code, but since its python, and I have not done any encryption on the source, you can just go to the folder where you installed the program, and get the source there.  It still needs to be cleaned up and commented, so I’m not posting it directly, but if you are REALLY curious to see it, download the installer and take a look.  I hope to get things commented properly soon, but I do get caught up in the design and implementation more then the comments and descriptions. 

I have been working on making the graph and sensor sections more modular.  The graph section seems like it will be fairly straight forward, and I’ll soon have option to choose from, like the type of graph to do, what columns to include, etc.  The Sensor hardware section will take a bit more planning, but I think I have a good place to start, so you can choose the sensor type at install, and it will save that type to a local file, which the program loads, to know which sensor data to get and write. 

That’s about it for this update.  Its still horribly smokey here and I have not been able to go for my morning walks… So motivation is a bit lower right now.  However, progress is still being made, it’s just a bit harder to push through. 

Until Next Time!


Smoke Update

So the smoke has gotten worse.   Thought I would post another pic, just cause. 

…. yep smoke… 


New Sensors!

So, I'm rather excited to say that pimoroni.com has released a new attachment board called the "Breakout Garden".  It lets you hook up to 6 sensors at a time, without the need to solder! And you can swap them around all you like.  I especially like the fact it makes the sensors stick up, so the heat from the Pi itself should affect it much less, if at all!  

I might of gone overboard a little bit… not going to say how much I spent, but I will say I have a good set of 4 fully loaded sensor boards on the way.  I'm pretty sure Pimoroni was the one that had really good Python libraries, so I'm looking forward to working with them, and probably making them my primary sensor boards.  Because of the modular nature of the board itself, and I'm working with soo many different sensors, I need to make the programs modular, so it can install and be used with different kinds of sensors…. Its a bit of a undertaking, so I'm going to think about how to implement that for awhile.  

In other news, I have some decently working installers for my PC Sensor Control Center application.  Everything appears to be working well, right after install. 

I added a Configuration window to load, set and change multiple settings, such as timezone offset, Temperature Offset, SQL Querries to skip in graping, default date selections, etc. I have also made all program and file location settings compatible with any OS (I'm pretty sure…).  If the config file is missing, it creates one with default entries, so if anything messes up in it, just delete config.txt in the main app directory, and load the program again for a fresh new copy.  You can also reset it from the Configuration window.   

As you can see in the picture, I have added the GPL ver. 3 to the program.  I also had some people recommend some well documented python code to try and emulate for commenting / documenting my own code.  I'll be working on that to make the code easier to modify.  The air quality in my town is litterally off the Canadian air quality scale, and I'm finding it harder to concentrate in general, so I might put this off for a bit.


Picture of my Sensors

I just realized, I have not actually posted a picture of my physical sensor units yet!  I started with the Raspberry Pi 3B+ and a SenseHAT, but changed to the Raspberry Pi Zero W with a Enviro pHAT later on, due to cost, power usage and expandability.  The bigger one is the Pi + SenseHAT, the mini's are the Pi zero + Enviro pHAT. 

The Raspberry Pi 3B+ with the SenseHAT was a lot easier to deal with, since I didn't have to solder anything, just push it into the pin.  

The Raspberry Pi Zero w on the other hand, I had to not only solder the 40 Pins on the Pi (for about 6 of them, after which I found pre-soldered ones), I also had to solder the connections on the Enviro pHAT.  So 80 solder points later per sensor and they are good to go … well physically any way.  This was my first go at soldering, and thanks to a video on the Raspberry Pi's website, it went fairly well (and by that, I mean they all worked).  

So there you go, those are my physically made sensors that my program connects to over the WiFi network.