I was thinking about documentation when I realized I could integrate the instructions for using it, into the display itself. So to that end, I re-worked the hardware button operations.
With the initial release, each of the 4 hardware buttons was tied to a single command, with the exception of the 3rd button, which if pressed a second time, would initiate an update.
Now I have set the 4th button as a “Change Functions” button, that upon pressing will change the operations of the other 3 buttons, and at the same time, display a message on the screen for what each button does at the current function “level”. The change button currently has 3 levels it cycles through. The new button functions are as follows.
Primary Functions
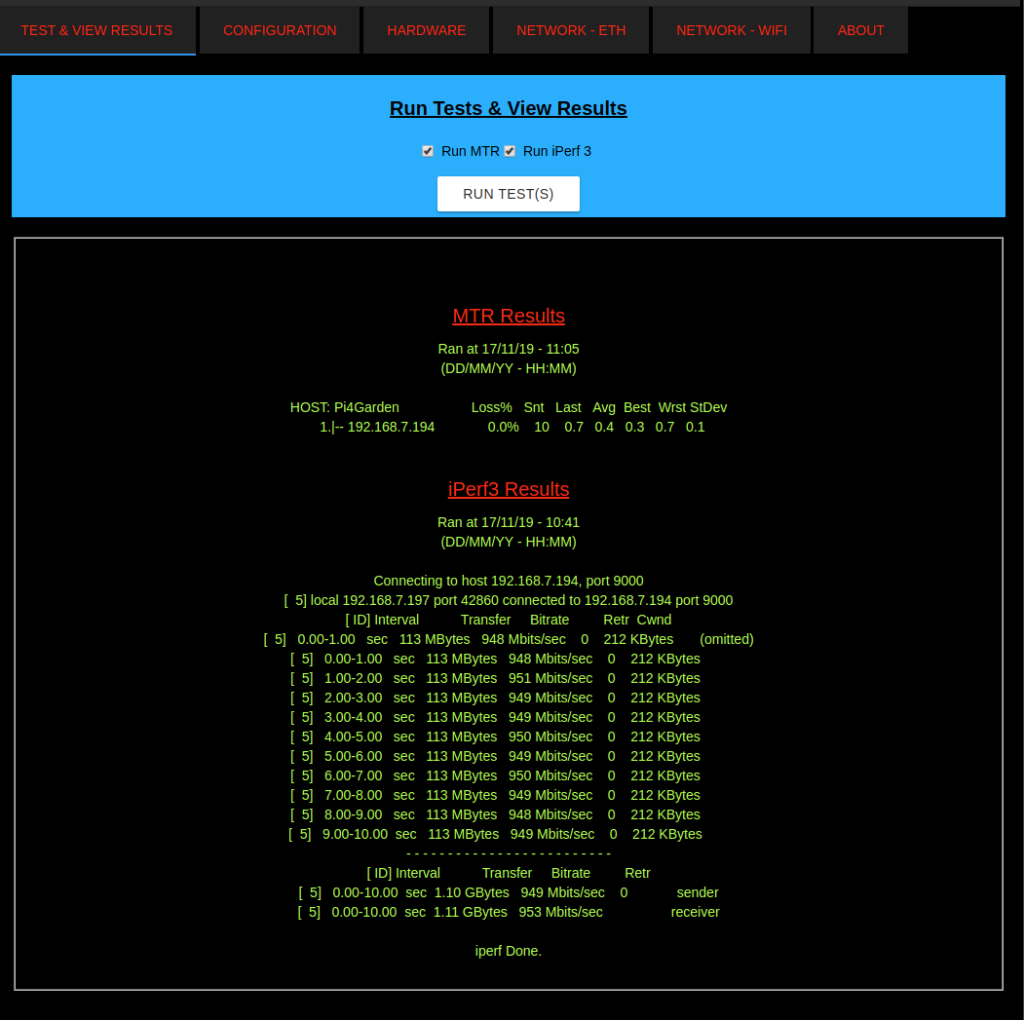
- Run MTR tests
- Run iPerf 3 tests
- Nothing
- Change Button Functions
Secondary Functions
- System Information
- Standard Upgrade
- Development Upgrade
- Change Button Functions
Tertiary Functions
- Shutdown Remote Test Server
- Shutdown Local Unit
- Nothing
- Change Button Functions
With this change, I can tie more functions to the compatible Raspberry Pi hardware buttons. This should make it a much more useful mobile tool, especially when I start to add other types of tests it can run.
There are a few extra features, such as each instructional page viewed on the WaveShare display, now shows if the remote tester is Online or Offline. This same Online/Offline status is shown on the web portal as well.
The System Information page now shows the following for the ethernet and wifi adapter; Active/Inactive Status, DHCP or Static address setup and the current IP Address.
The about page now also displays the Primary Internet IP address along with the amount of free disk space in GB’s.
I also found and fixed a bug in the WaveShare display. If a button was pressed multiple times before the display finished its refresh, it would crash the display server. I fixed it by adding an “In Use” variable, and if “In Use”, any new commands will be dropped until no longer “In Use”.
I have already put the new update on the standard release channel.
Recent Comments